
The Grotto
Step-by-Step
By Jim DeRogatis
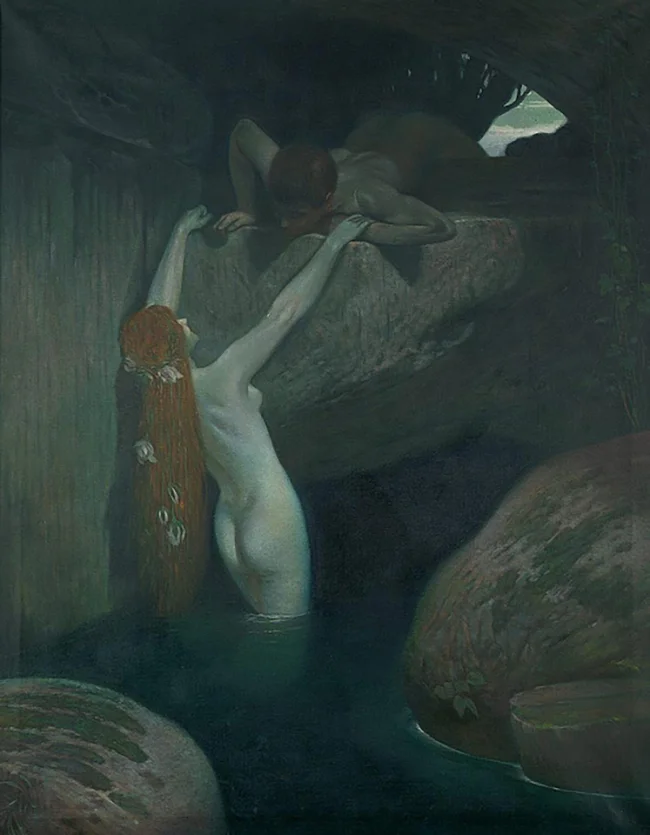
The goals for my box “The Grotto” were two-fold: 1.) To see if I could pull off a scene as compact as those my pal and this site’s co-editor Barry Biediger has perfected (“Harsh Awakening: Moscow, 1812” wasn’t quite there yet), and 2.) To see what kind of a twist I could put on the painting “In the Grotte” by Rudolf Rossler (1864-1934), which struck me as an ideal subject for a box when I stumbled across it on the Web. Here was a nicely contained scene with several interesting groundwork elements, plus I loved the contrast of the cool green light within the cave and the possibility of bright sunlight outside. Rossler was an old-school Romantic celebrated by the Austrian school, and his style was not unlike that of Sir Edward Poynter, whose work inspired another of my earlier boxes, “Cave of the Storm Nymphs.” In the end, I worked hard to duplicate the two figures’ poses, but I changed the time of day and the landscape in the painting, shifting from somewhere in Europe to the American Southwest—inspired by our summer vacation trip to the Utah desert with, appropriately enough, Barry and his wife Joan. Thanks, my friends!
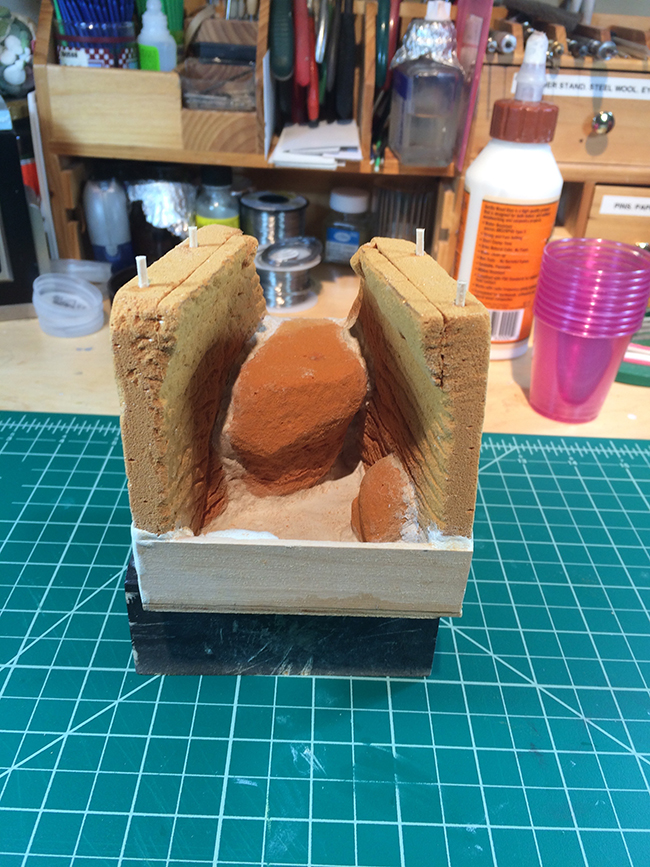
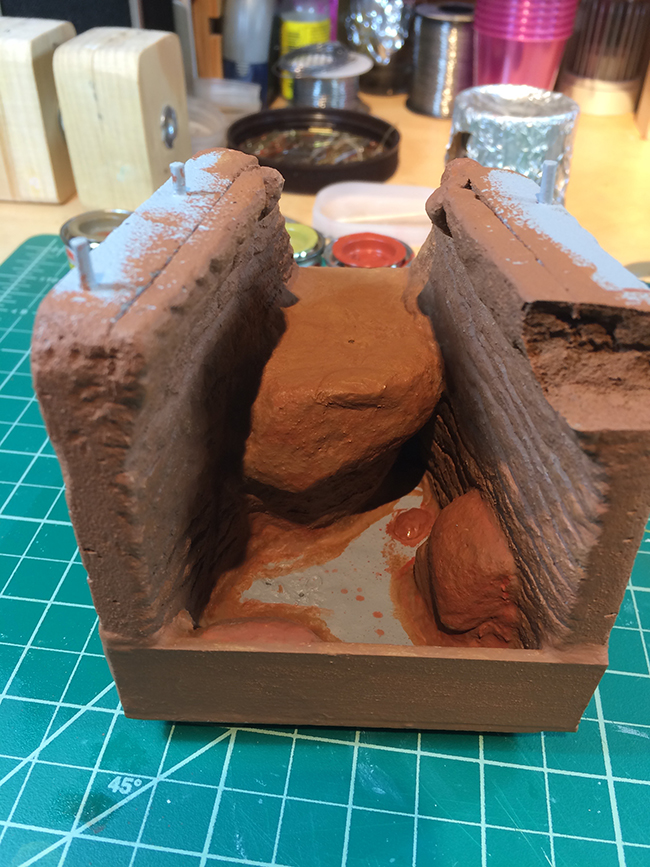
Work begins by constructing the walls of the cave out of Balsa Foam, which is ideal for this sort of landscape because it can be carved to resemble rock. Once it’s coated with lacquer, it is impermeable, which was necessary because I wanted to model the water.
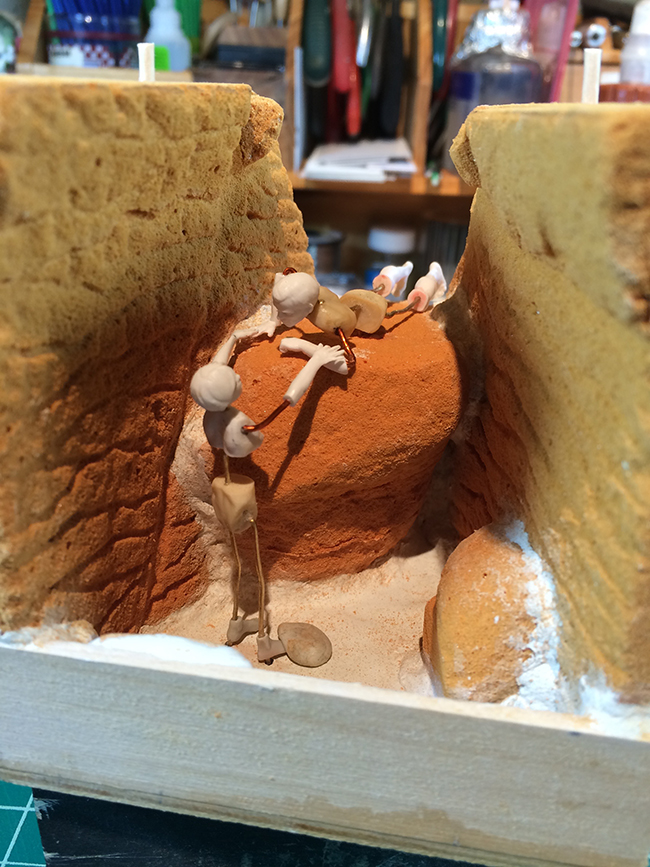
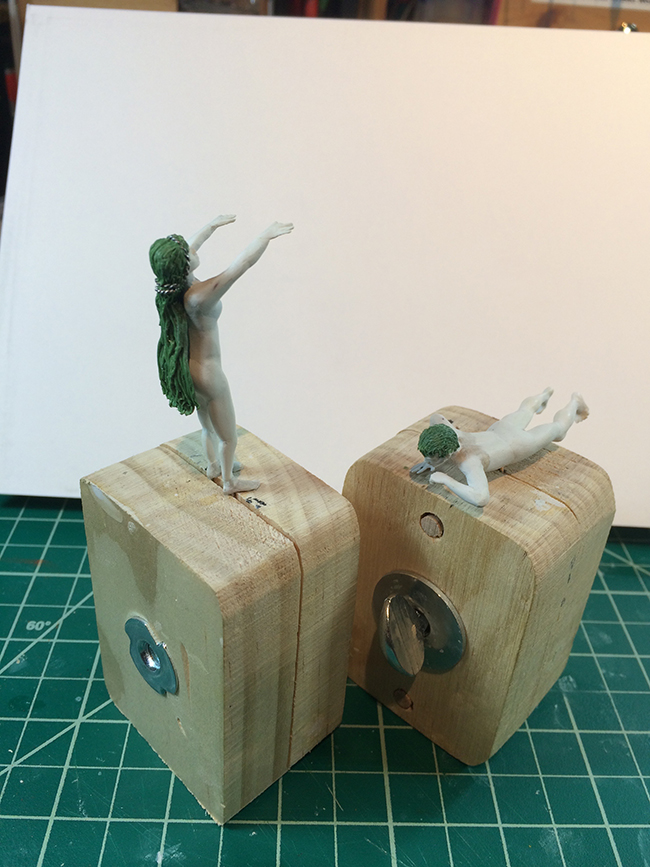
The figures begin as mannequins with wire and the resin-cast torsos and pelvises I carved for 54mm men and women some time ago. Sculpting is with Aves two-part epoxy putty, with Duro for the hair.
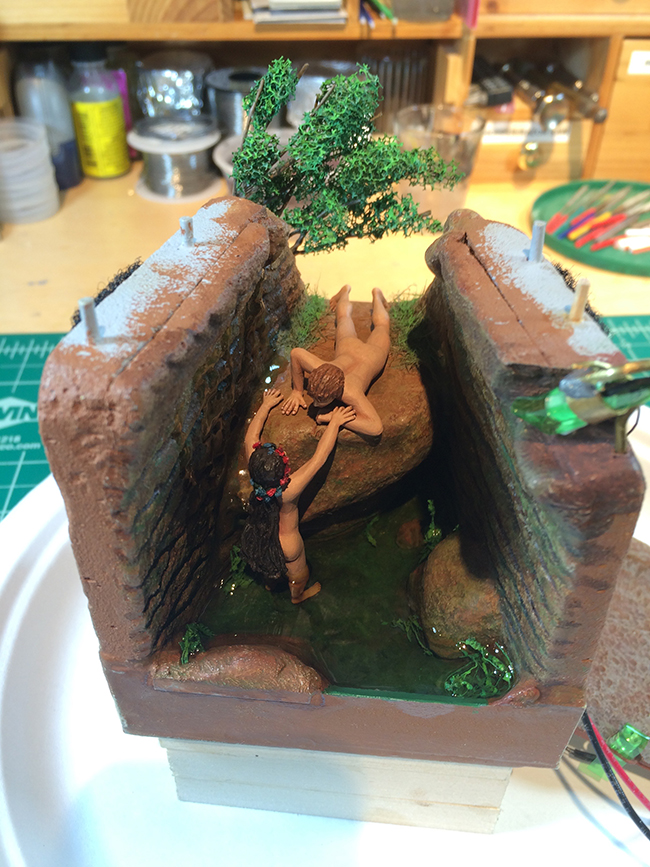

The scene came together quickly once the figures were painted. In the photo of the inner scene without the cave roof, you can see my LED spotlight with a green filter attached on the right. I have two warm LEDs with orange filters for late-afternoon desert light outside the cave; it took some positioning so they didn’t cast shadows on the tree or the photo backdrop (which I painted over to some extent). The water is a product called “Magic Water” manufactured by Unreal Details, which is much easier to use, much quicker to cure, and far less toxic (or at least less foul-smelling) than other clear casting resins I have tried in the past to simulate water. The rivulets streaming down the left side of the grotto walls are simply streaks of Zap 5-minute Z-Poxy, my favorite epoxy glue because it dries perfectly clear and, again, does not stink up your modeling space with noxious fumes.